
Re-Entry Belt™ User Guide
Your new belt just landed and you’re wondering how to use it? You’re in the right place!
For an overall introduction to the Re-Entry Belt system!
For a more detailed look at the components, and how they interact.
Installation Instructions
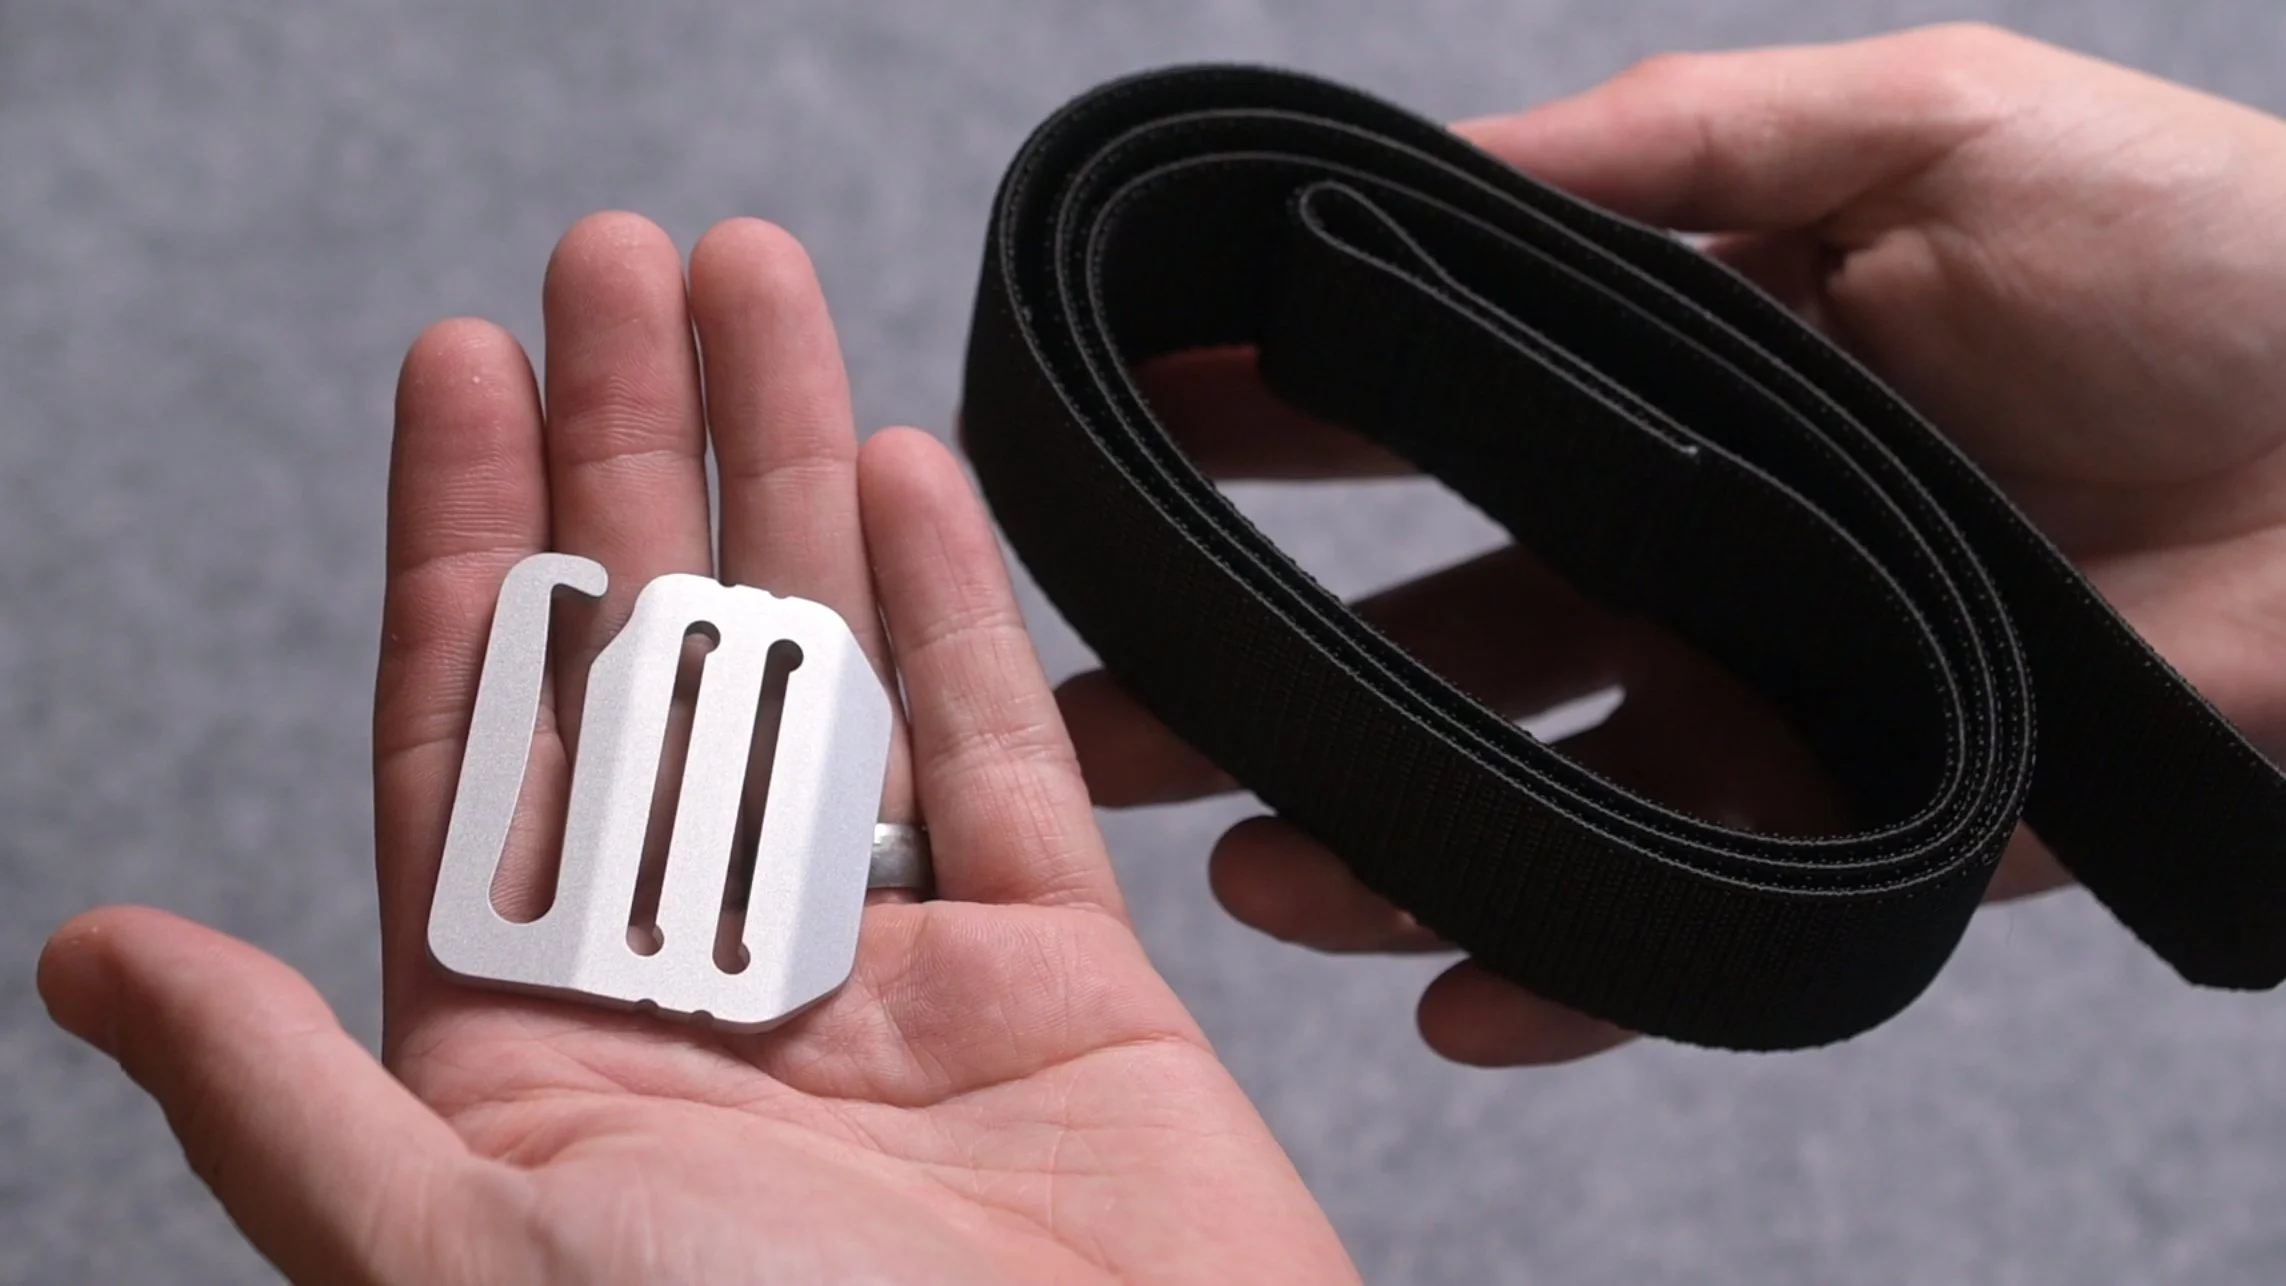
Step 1: Contents
Hooray for Belt Day! First things first, make sure that the item you received is in fact the item that you ordered. There may also be a few other goodies in there for you. 😉
Step 2: Prepare
Once you’re ready to assemble your Re-Entry Belt, here are a few best practices to consider before doing so:
A soft and clean work surface is usually recommended to prevent any damage to your buckle, your work surface, (and your ego 😅).
The Re-Entry Belt G-Hook is intentionally packed separately from the elastic Belt Module for ease of modularity and packing.
Once both items are removed from their packaging, you’re ready to go!
Step 3: Install
Weave the belt around your waist through your belt loops, preferably with the stitched loop going counter-clockwise.
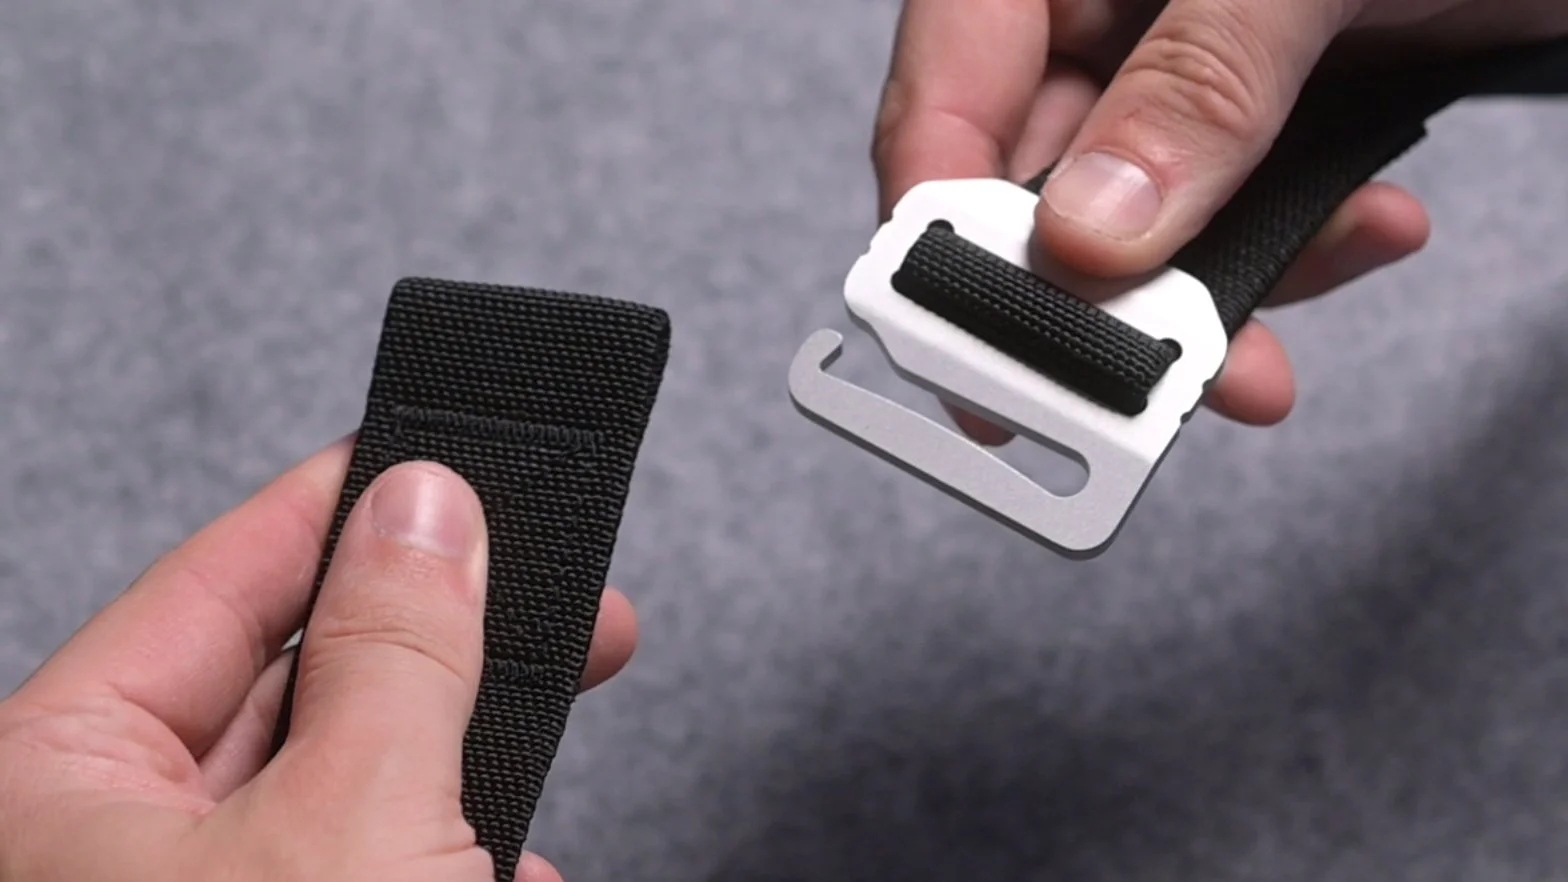
Feed the pointed end of the elastic up through the bottom webbing slot of the G-hook buckle.
For initial fitment, insert the hook arm into the receiving loop of elastic.
Pull the elastic end through until the fit is snug but not restrictive.
Once sized, undo the hook and re-insert the pointed end back down through the top slot of the G-hook buckle to lock it in.
Terminate the hook arm back onto the webbing loop.
The slack of the pointed end should continue forward behind the bartacked webbing loop.
And that’s it! 🚀
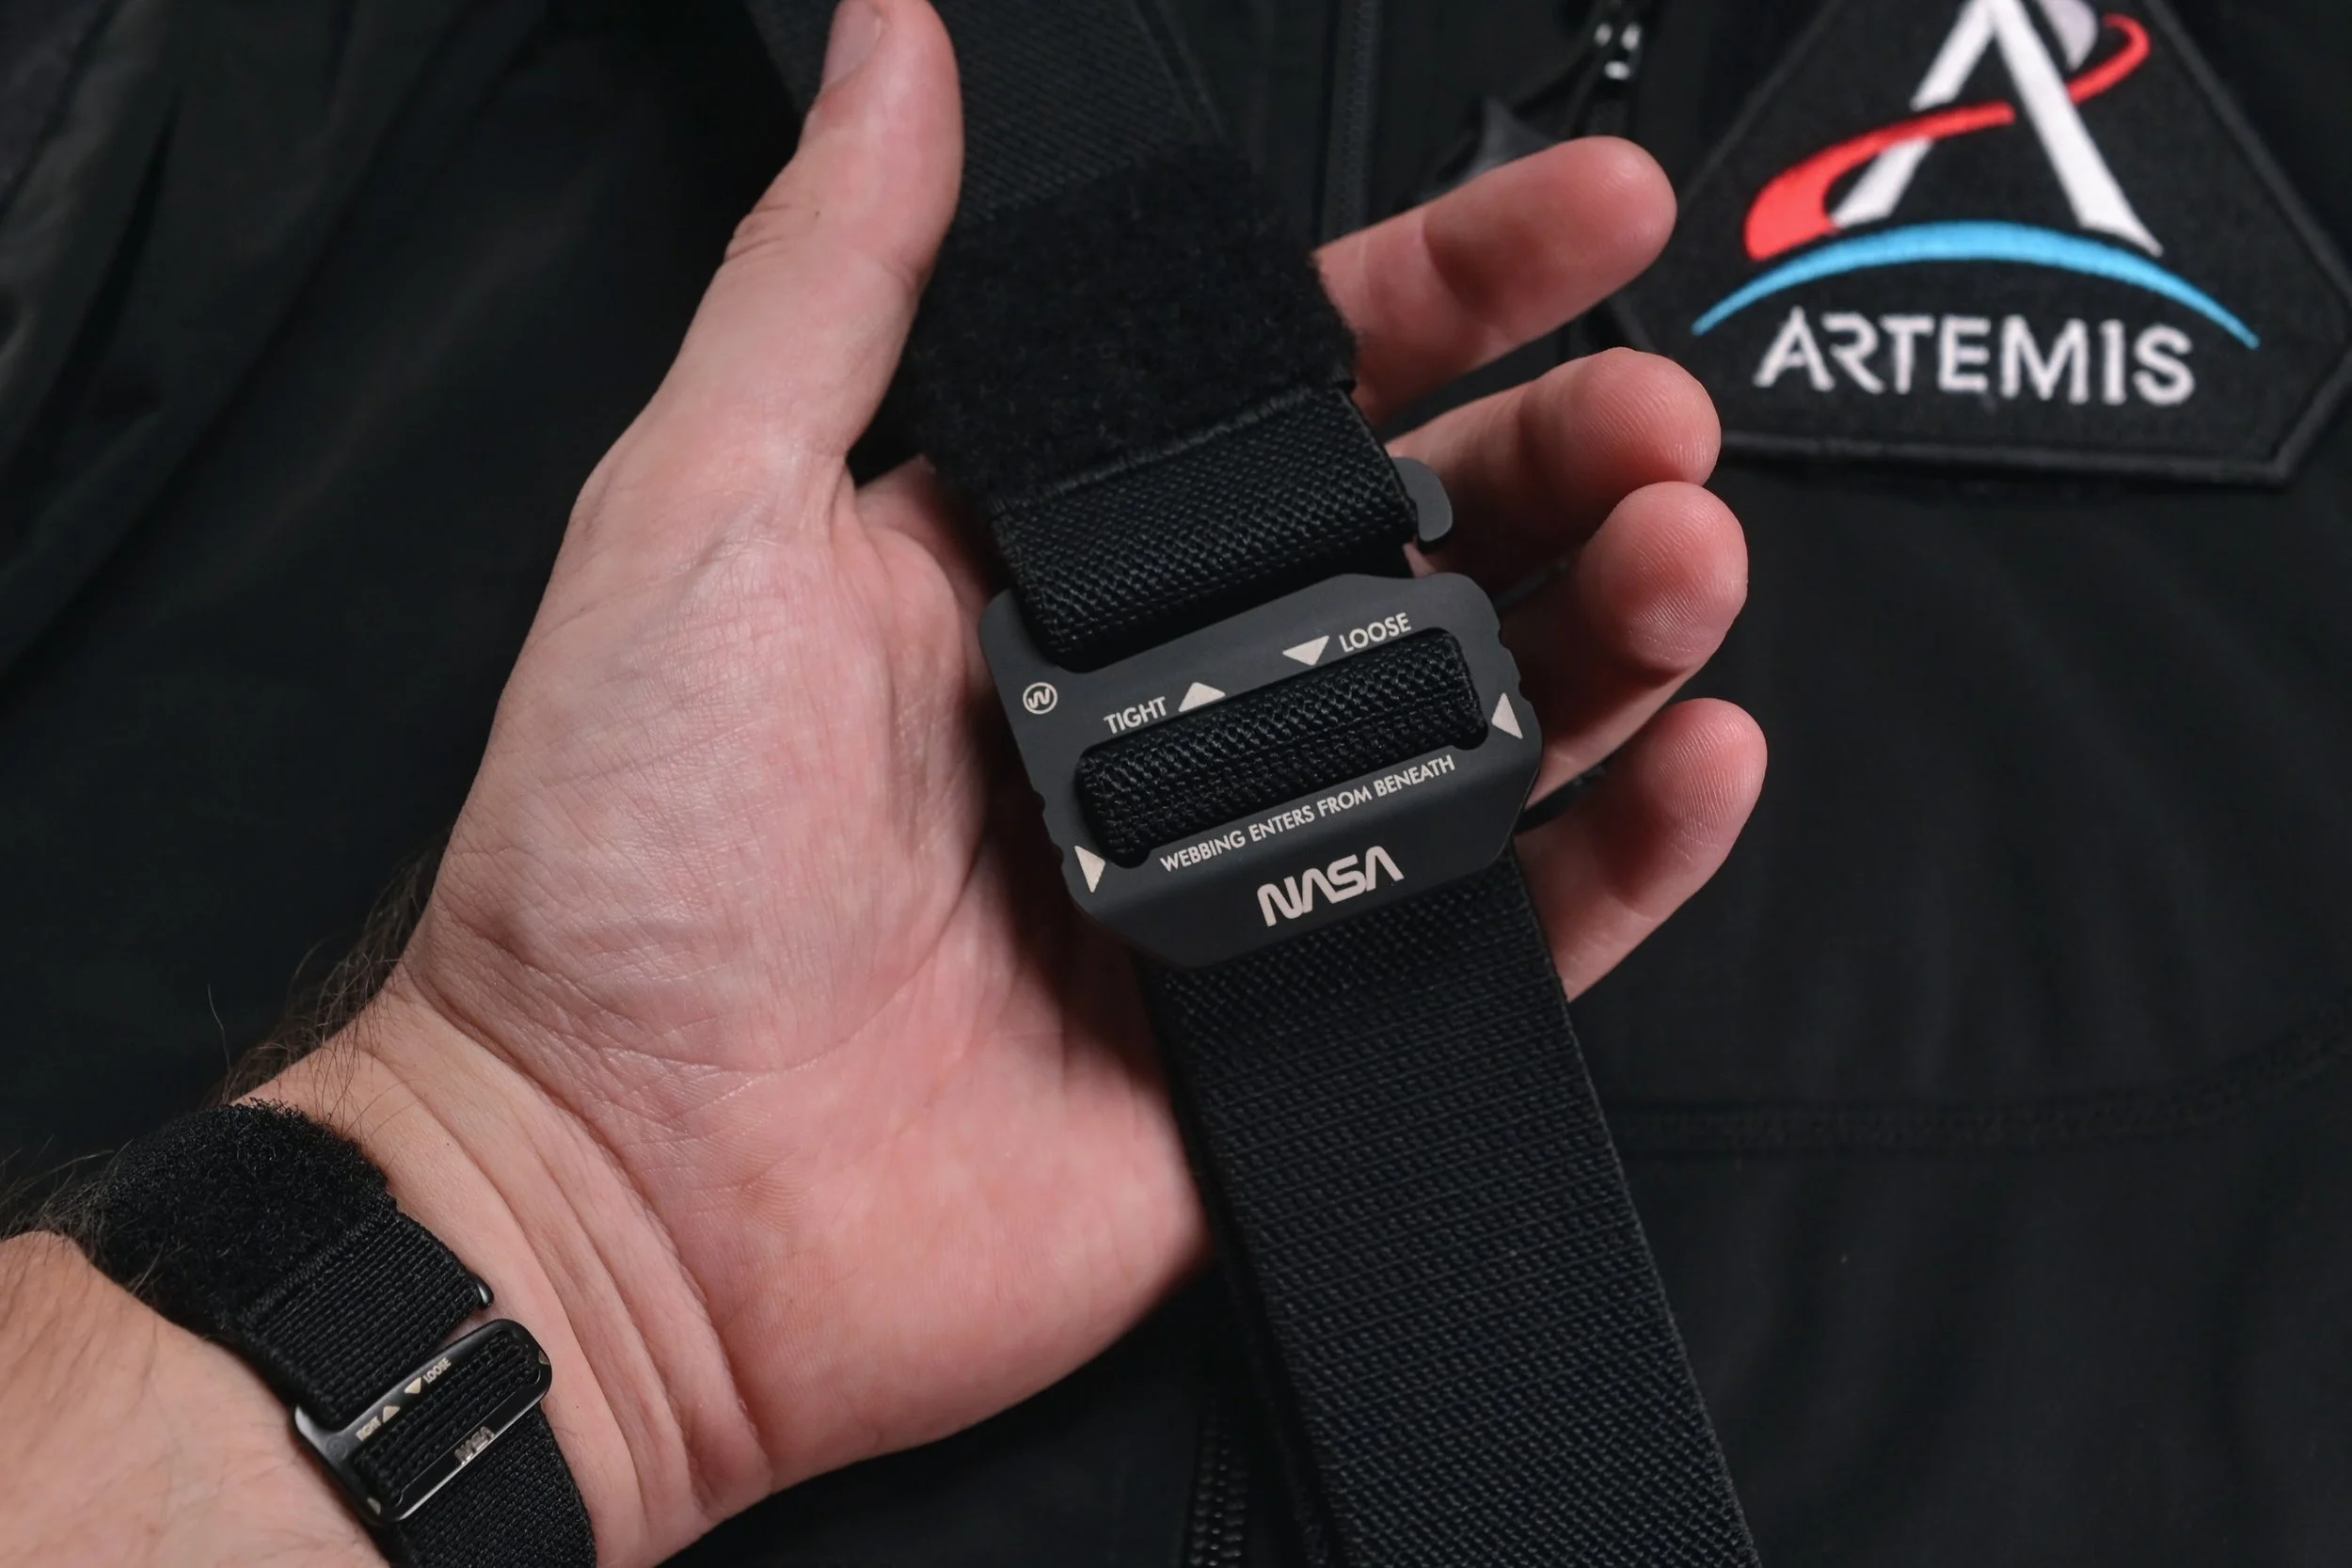
To release, grab opposing ends of the G-hook buckle and webbing loop, and rotate them inward to guide the loop out of the arm.
Trimming (Optional): After you’ve found the sweet spot for your sizing, the tail end of your elastic might be longer than you’d like. If this is the case, you may elect to perform a Field Alteration to trim the end of the elastic down. This is permanent, so perform this task little by little with great caution.
Using a sharp pair of scissors, you can use the lower, beveled geometry of the G-hook buckle as a guide to trim, burn, and squeeze the end into proper shape. Any Bic lighter will do. Tapering the end is important for ease of functionality with the webbing slots; They are made to a very tight tolerance to grip the elastic, so a taper is necessary to slide the end of the elastic through.
(Just make sure you’re in a well-ventilated space as melted polypropylene won’t smell too great. 😅)
And lastly, I’d love to see it! Be sure to tag me on your social channels if you’ve made it this far: @nickmankeydesigns
May your belt go unnoticed and provide unparalleled strength when you need it. 😎